Blogi loki päiväkirja
Dima's diary about anything
3D modelling, 3D printing, FPV, electronics, photography, life
Covid19 face shield

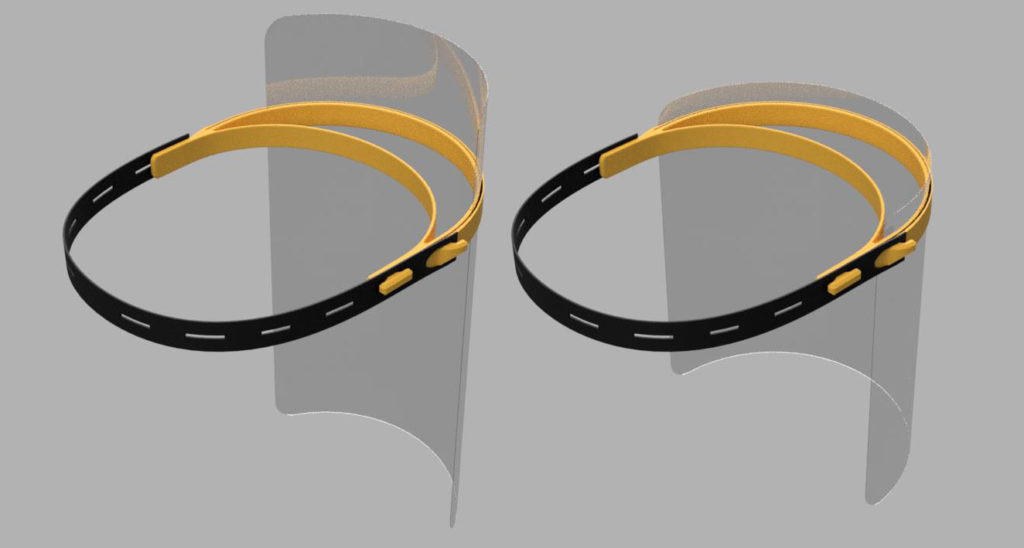
2020-04-14 Update: New version (V5). I had to raise the height of the band to 15mm, as front stripe slips over in some cases. Slot for the sheet is a lot wider, so you can insert it horizontally to cover the sides of the face. I also added a 5pcs stack model.
2020-04-12 Update: New version (V4). Version 4 headband is lighter and 10mm high. It's designed to use with buttonhole band. For longer usage, fabric band is more confortable to wear. This model is also suitable to stack without supports.
2020-04-06 Update: New version (V3) and top cover. Version 3 headband allows the wider cheet to be used for better covering the sides of the face. Detachable top cover added. The shape of the cover allows for the heaband to flex into the head's shape.
2020-04-02 Update: New improved version (V2) developed. This article covers only the new headband. Do not use the first version, download the new one.
There are many versions of face shield headbands. But all of them require making holes into the protective sheet by punching or laser cutting. For example Shield by Prusa. Prusa’s team had a great collaboration with the Czech Ministry of Health and their shields are already in large use. But in my opinion, it’s a bit complicated and requires unnecessary extra work.
I was inspired to redesign it. As a fan of the minimalism, this guides me to think out of the box. How to make a clean design that is effortless to assemble and disassemble for disinfection. Overall dimensions I took from Prusa’s design. Like headband width, height and shield distance. No need to invent the proven wheel again. All other details are my own. After a few revisions, received comments and strokes of wit. The result of an updated headband is pretty good. No loops, no holes, no knots. There was also a concern about removing the shield with one hand, that is also solved in this design. Development never stops, so for sure there probably will be some updates.
Prusa team has also very good information about shield sterilization. And if you going to manufacture these shields, please read Prusa’s advice below carefully!
Act as if you were infected by the COVID-19 virus. Wear a face mask and a fresh pair of gloves when collecting each batch of printed parts. Store the parts immediately in a sealable bag.
Talk with whoever you’re making the shields for, let them know about your manufacturing environment
There is still debate about how long the virus survives on plastic, but most sources mention 2-3 days. That means that by letting the packed face shields sit for 2-3 days before distributing them, you’ll greatly reduce risk of transmission
Do not store the entire stock in one place, minimize the risk of cross contamination
Prusa Research
Get headband file from Thingiverse.com/thing:4254487 or Prusaprinters.org/prints/28028-covid19-face-shield-without-pikes-for-holes
Guide for version 5 headband

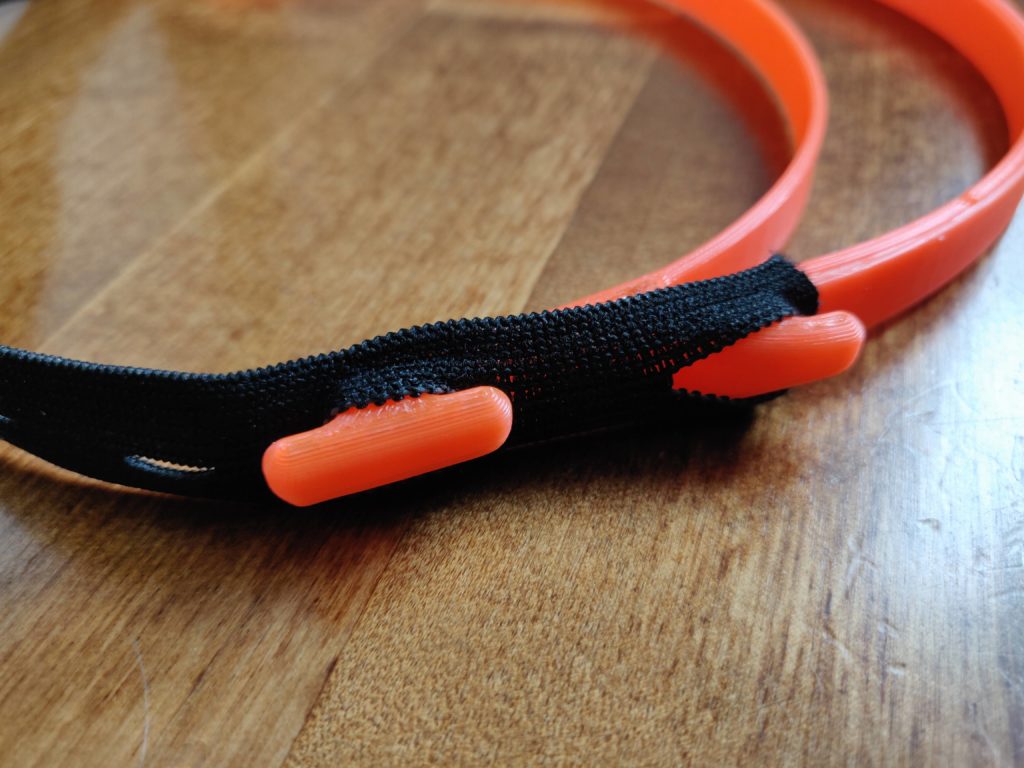
For rubber band you can use buttonhole band found in most stores for sewing. Put the end of the band on the tightening stripe hook and tighten by locking the next hole on the T-hook.

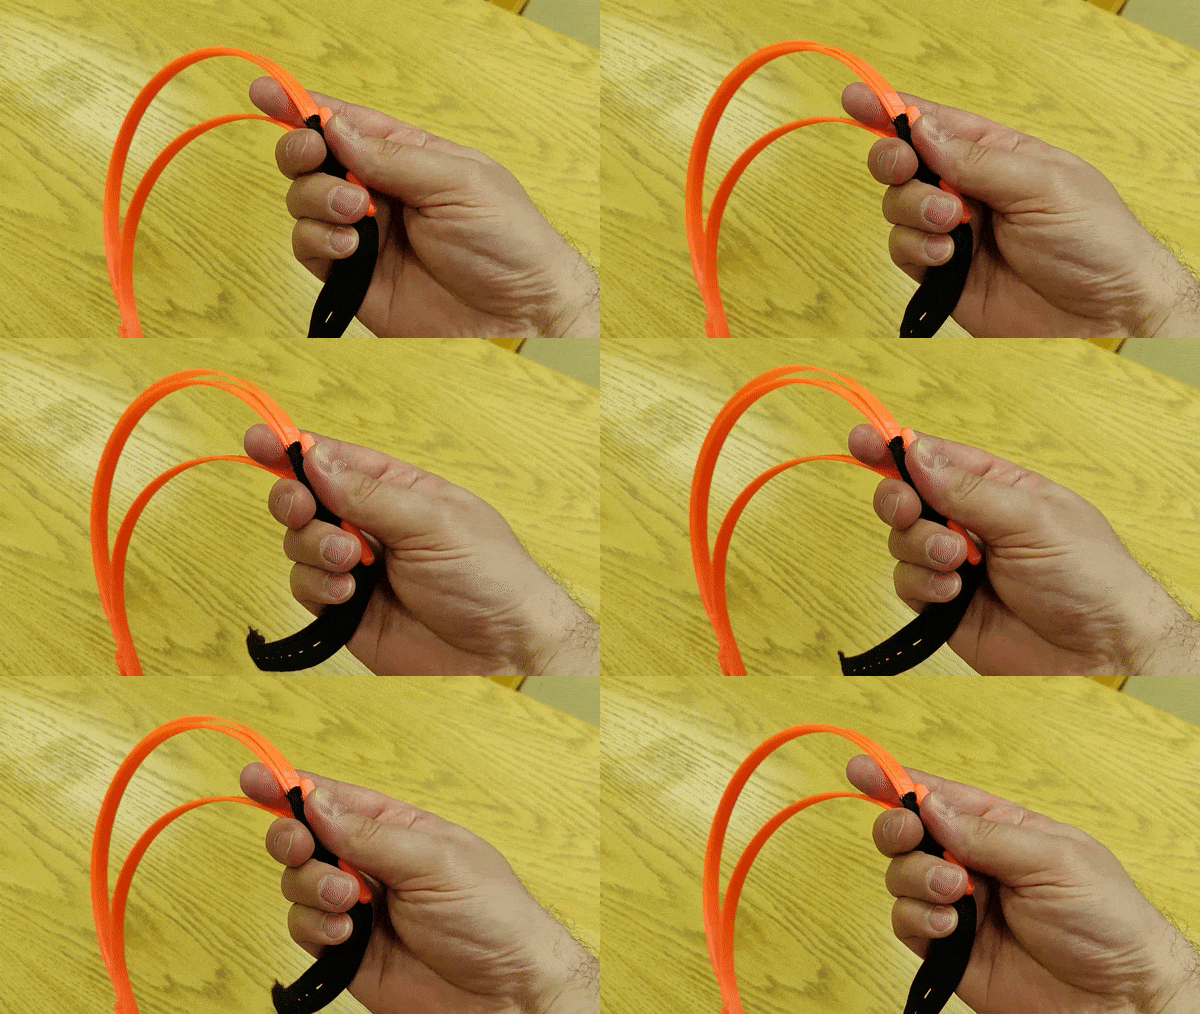
Open the slot by sliding the tightening stripe and insert protective sheet into the slot. You can use A4 or Letter sized clear sheets. If you put it horizontally, then the shield protects better the sides of the face.
Guide for version 3 headband

All you need is printed headband, 5-8mm wide rubber band and clear A4 or Letter-sized sheet. I found that easiest is to use laminating film, as it can be found in most office stores. By heating the empty film, it becomes very clear. But if you know other options and the sources, let me know. For example films for overhead projectors could be a perfect option. But no one uses them any more.


