Blogi loki päiväkirja
Dima's diary about anything
3D modelling, 3D printing, FPV, electronics, photography, life
DiA Tiny Whing 40 1S wing

This is my addition to this FPV wing hobby inspired by AD/HD Delta wing and FPVWRA Spec class racing wing. My goal is to design small, light and smoothly flying wing for indoor and parks. And have to be flown with tiny whoop’s brushless motor and 1S lipo battery.
So here is the result:

Wingspan: 40cm
Motor: 802 19000kv
Batt: 300mAh 1S HV
AUW: 31g
CG calculated by using Flying wing CG calculator
Parts needed:
- 3mm thick depron or such board
- 0.8mm piano wire or such for servo links
- 2pcs 1.7g servos
- 2.4G 8CH D8 Mini FrSky Receiver With PWM Output
- Happymodel SE0802 1-2S 19000KV Brushless Motor
- 1S 5A ESC for planes
- 1x3x200mm carbon fiber stripes
- 65mm propellers
- Caddix Beetle AIO FPV camera
Tools needed:
- Very sharp knife
- Office tape or fibre tape or any-strong-enough tape for aileron hinges
- Office rubber band
- 3D printer 😀
- UHU-POR glue for foam parts
- E6000 glue for link locks
- Hot glue gun for flyware stuff
Here are two cutting templates to choose from. On A3 template the wing is in one part. On A4 it’s in two parts, which you have to glue together.
Building instructions
Glueing the parts
Use UHU-POR glue for glueing foams. Apply glue onto one part then attach parts together and rub a little. Then pull apart and let dry for 30 seconds. Then attach parts together. They will be glued instantly, so you can’t do any corrections.
Get cutting templates form Thingiverse.com/thing:3646155
So If you cut wings separately, glue them now together. Glue winglets as a final stage.

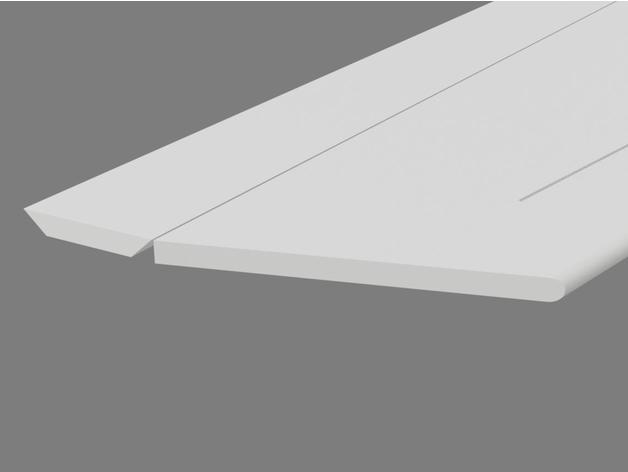
Cut chamfers on the ailerons and make wings leading edge round by cutting or sanding.
Printing parts
Get files from Thingiverse.com/thing:3646155
Parts are small but can be printed without hassle on all printers. Use 0.1-0.2mm layers and your preferred hard filament, like PLA, PETG, ABS or such.
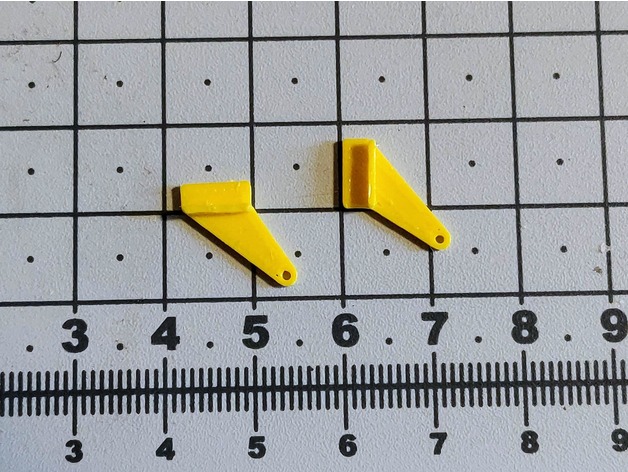
You need two horns, so mirror the second one in the slicer.
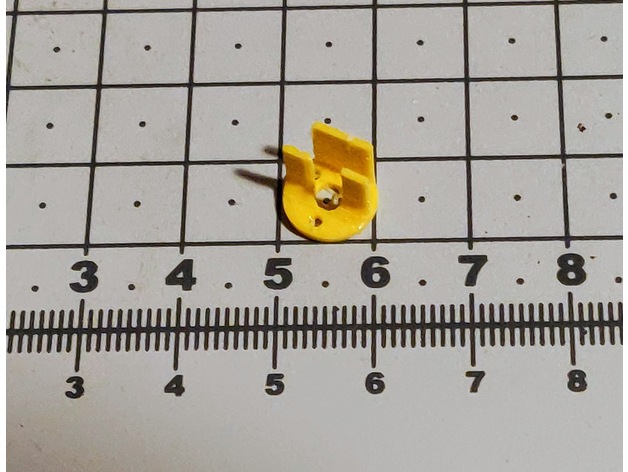
Motor mount
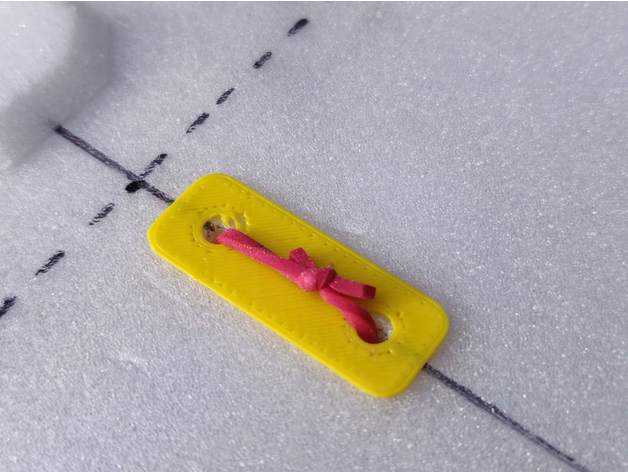
Battery rubber holder
Assembly
Lay the wing flat on the table. Insert servos into the slots use UHU-POR or hot glue to lock them in. You can put an office tape at the bottom side. Put the ailerons in places and tape them to the wing. The tapes will work as the hinges. Glue a horn into the slot on the aileron.

Cut the piano wire to two 24mm long pieces. Make an L angle on one side 4mm from the tip. Insert it into the servo’s horn. Make sure that the aileron is on the same line with the wing and mark with the marker bending point on the wire.
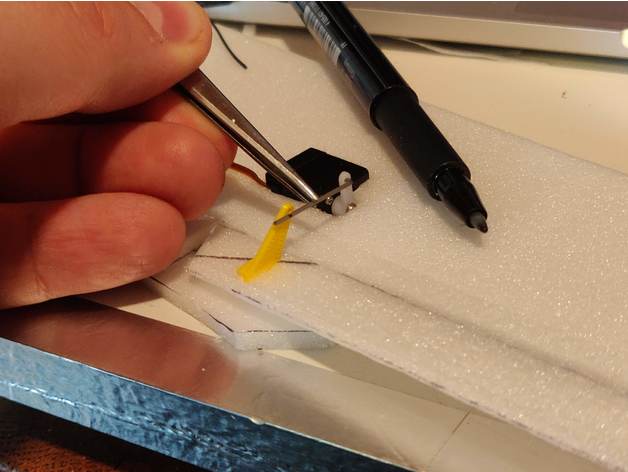
Bend the other side of the link and insert it to both horns. Then lock it with a drop of the E6000 glue. You can use also hot glue. But E6000 remains soft and removes any loose-fittings.

Cut 1x3mm carbon fibre stripes in two 20mm and one 14mm long parts. Put glue into the slots on the wing and insert stripes into them.
The horizontal slot is also a mark of the centre of the gravity. It’s 76mm from the nose.
Attach the motor onto the mount and glue mount in its place on the back of the wing.

Glue an ESC and the receiver near the motor. You can scrape a slot in the foam for them if you want.
Improvise the mounting of the fpv AIO camera with the vtx. You can glue foam pieces under the camera and the motor mounts to strengthen them.
The last part is to find a place for the 1S battery of your choice. You can glue now the winglets. Then put wing’s CG on your fingers and move the battery to find a perfect balance.
Glue the rubber holder under the wing and make the through holes for the rubber. Cut the rubber band. Put it through the holes and tie tight.
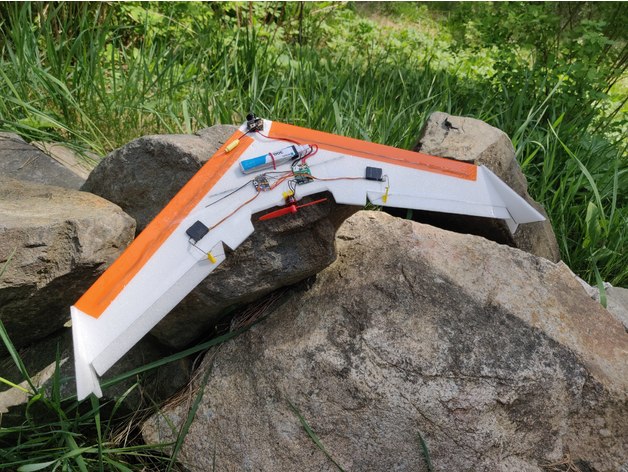
So the final result should be like this:

Transmitter settings
Here the preferences that suites me:
- 30% expo on Roll and Pitch
- 60% weight for ailerons and elevon